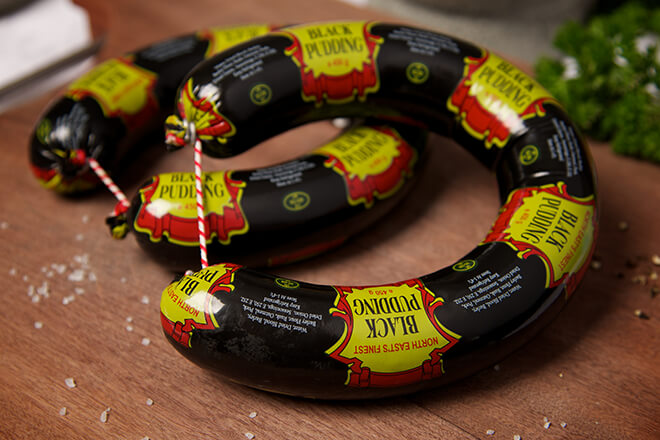
Black pudding is one of the oldest known sausages. Possibly the oldest. There are many varieties around the world, and there is a train of thought amongst butchers that says making a black pudding is possibly the oldest butchery skill.╠²
ItŌĆÖs a tasty roll of heaven that has served us well for generations. It has its detractors, but for us a breakfast has a missing ingredient if it doesnŌĆÖt include black pudding. WeŌĆÖve had a deeper look into all things around this bloody majestic marvel.
What is it made of?
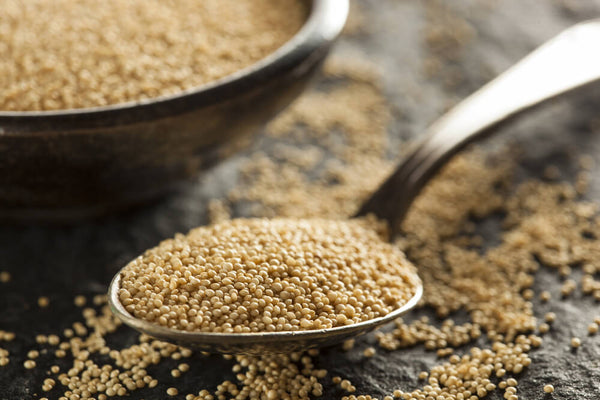
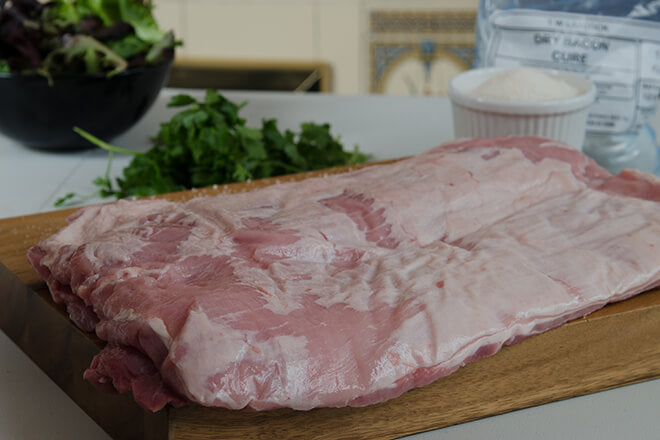
WeŌĆÖll get straight to the point. Black pudding is made with blood. Usually pigs blood. While ŌĆśpureŌĆÖ blood sausages are common across Europe, in Britain we have a long tradition of adding coarsely milled grains like oats or pearl barley to these types of sausages. They ensure that the mixture of stock, blood ground fat and meat has a nice firm consistency when cooled. The grain soaks up the lovely savoury juices and gives the sausage its ŌĆśpuddingŌĆÖ texture.
Why is it called black pudding?
Blood sausage first arrived in the UK via European monks. They called it ŌĆśblutwurstŌĆÖ which means blood sausage. As mentioned, it could be the oldest sausage around. It is referenced in 800 BC and the oldest detailed recipe is from the Romans around the 4th Century. Proper old. The name variant of ŌĆśblood sausageŌĆÖ moved along to blood pudding and then finally to black pudding, with the term ŌĆśblak podyngsŌĆÖ being recorded in the 15th century.
Is Black Pudding a superfood?
No. Sorry it's not. There were claims a few years ago that it was, but that was just marketing noise from the fitness community rather than fact. ItŌĆÖs not all bad news though, it is a great source of protein. The fact itŌĆÖs made of blood makes it naturally high in iron and zinc, both of which are brilliant. Iron helps to metabolize proteins and plays a vital role in the production of hemoglobin and red blood cells. Zinc helps maintain an active immune system, aids healing and helps the body to break down carbohydrates.╠² ItŌĆÖs also packed with potassium, calcium and magnesium, so although not a superfood, it is super food.╠²
So is Black Pudding bad for you?
Again no. Fat and salt content can be a concern, but as with most things, and especially sausage that varies. Some varieties of black pudding can contain up to 25% fat, whereas the lower end of that scale tend to be less than 3%. As weŌĆÖve said many times, sausage is a personal taste. Black pudding is no different. Some people like a different variety. There is no right or wrong. Only flavour.╠²
╠²

What does Black Pudding taste like?
Rich and velvety, with a flavour that is both deeply savoury but also slightly sweet. ItŌĆÖs not for everyone, and our American friends in particular struggle with the texture (and its main ingredient!).╠² ╠² ╠²
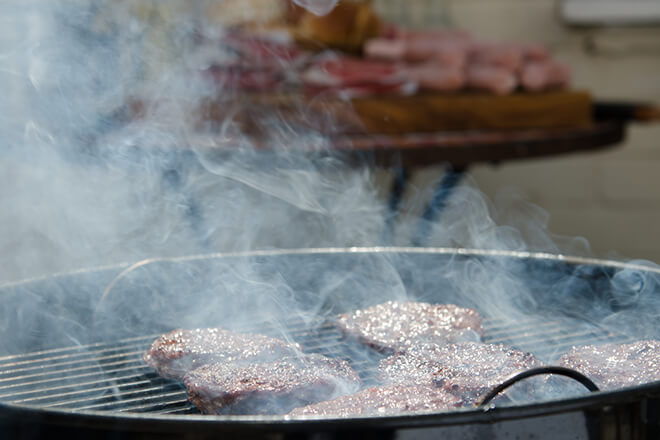
How do you cook Black Pudding?
There is an art to cooking a good black pudding. Generally it is fried, but you can also bake or boil it, depending on if youŌĆÖre having slices or the whole thing.
To fry, get a shallow non-stick frying pan hot, slice the black pudding thickly at least 1.5cm, then place them cut-side down in the pan with a little oil. Leave the slices to form a nice crust about 3-4 minutes, before you turn them over. This will help hold them together. Be careful when turning and let the other side crisp. When cooked, lightly pat with some kitchen roll.
If you want to boil a black pudding DO NOT slice it first. Bring a pan of water to a gentle simmer then add the whole black pudding and let it cook on a simmer for 6-8 minutes. DonŌĆÖt let the water boil as it will cause the skin to split and the pudding will take on water. When cooked, remove the pudding from the water and slice to serve.
To oven bake, slice into 1.5cm thick slices, place on a baking tray and pop into a preheated oven at 190┬░C (gas mark 4) for 6-8 minutes, turning once half-way through.
╠²
Where does the best Black pudding come from?
Now thereŌĆÖs a question! Lancashire is arguably the place most associated with it in Britain. Bury, and Bury Market, if weŌĆÖre being very specific. Nearby Ramsbottom hosts the╠²World Black Pudding Throwing Championships which gives an indication of just how serious they take their Black Pudding in that county. Much to LancastrianŌĆÖs dismay, Black Pudding in the UK almost certainly originated in Yorkshire (from the European monks). The Black Country in the Midlands, also has a claim for being Black Pudding Country, but thatŌĆÖs more to do with pork production in that part of the country.
If itŌĆÖs a pure question of quality, Stornoway Black Pudding takes some beating. In 2013, it was granted PGI status (Protected Geographical Indicator of Origin) by the European Union. This means that producers outside of╠²the area can no longer use the ŌĆ£StornowayŌĆØ label and it is made exclusively in Stornoway on the Isle of Lewis in the Western Isles or (Outer Hebrides) of Scotland
What recipes can you use it in?
Although most famously served for breakfast, itŌĆÖs not the only place for it. It goes lovely with seafood, especially scallops or lobster. ItŌĆÖs equally at home in a hotpot, or is lovely to flavour and beef out mash potato. As pretty basic northerners our favourite is straight from the pan, served on buttered toast, with a dollop of English Mustard.╠²╠²
]]>


 ╠²
╠²